Showing posts with label Finished charts. Show all posts

Tuesday, 9 April 2013

Project Tutorial: Bicycle Card

I made this embroidered metallic blue bike card for my dad's birthday. As it is a blank card is suitable to be used for any occasion, such as Fathers Day, Birthdays, or even a Congratulations card! You could easily use different colours to customise it.  What do you think? It's easy to do, and you could easily use this method to create your own designs too.
You will need
Embroidery threads (I used DMC 310 black and some metallic blue thread)
Even weave (I used 28 count)
Card (I used a pre-folded card that was 6"x4")
Spare Card for the border
Clear drying glue e.g. PVA or double sided tape.
First of all, you can print this chart out to the size you require for your card. I used a bike length of 10cm. (alternatively you can draw your own. TIP: use pencil first so you can rub it out if you go wrong before drawing over it in a black pen)
The next step is easy. Place the even weave over your design. You should be able to see the outline of the bike. Using a fabric pen if you have one, (or a pencil if you don't) carefully trace the design onto the even weave, making sure you don't move the design.
Now it's time to get stitching! Stitch over the lines of the design beginning with the bicycle frame. I used 2 strands of black thread and 3 strands of metallic blue thread (because it was quite thin, 2 strands of normal embroidery cotton will be fine).
Handles: Satin Stitch
Seat: Padded Satin Stitch
Frame: Satin Stitch
Wheels: Chain Stitch
To give the card a nice finish, I then trimmed down some spare card to 5.5" x3.5" to give a border around the frame, and then cut out an aperture size of 5"x3".
Now you're ready to assemble your card.
First, trim down your bike design to 5.5" x 3.5", being careful to ensure that the bike is central, so it will fit in the card border without any overhanging. (You may need to trim it slightly smaller due to the fabric stretching) Ensure there is an overlap of even weave and card. Carefully glue the bicycle design to the green card using either a clear drying glue or double sided sticky tape, and leave to dry.
Once dry, carefully glue the bike and border to the card, ensuring it is centrally positioned. It should look something like this once completed!
Alternatives: Use a smaller design/ larger card and place the design at an angle.
Add embellishments in the form of ribbons, bows, buttons, sequins, e.t.c.
Happy Stitching!
You might also like

Monday, 4 March 2013

Project Tutorial: Mothers Day Card

Naturally for Mothers Day next Sunday I had to design and make a card. With new stitch inspiration from my new Encyclopaedia of Stitches in the form of Rosebud Stitch, flowers were the obvious choice. It was easy to think of a slightly corny saying for the card. Besides, it might be corny but t's true, I wouldn't change my mum for anything! So here's the card I made, which you are more than welcome to reproduce for your own mum. Because it doesn't mention mothers day in the saying, you could use it as a birthday card for your mother too. I'm quite proud with the card, it's pretty easy and simple to make, once you've got the hang of all the different stitches!
 
Here's the chart I've developed. I stitched it using 2 strands of embroidery cotton for each colour, on 14 count pale blue aida using the DMC threads and beads stated below the chart, but if, like me, you have a stash of embroidery threads then just use whatever is too hand, or tailor it using your mums' favourite colours! The finished Chart size is approx. 3" (7.5cm) x 4" (10cm). Remember to cut the aida at least 2" bigger.


Writing: DMC 552
Basket: DMC420
Flower centres: DMC 445 (rosebud and spikey flower)
Flower centre, Daisy: Mill Hill yellow seed beads (can substitute with French knots in DMC 445)
Rosebud: DMC Colour Variations: 4180
Daisy: DMC Light effects 5200
Spikey Flower: DMC Perle 8 colour 99
Leaves/ Stems: DMC 320
 
How to Stitch:
 
Writing: Mostly Backstitch with some Cross Stitch
Basket: All Backstitch
Rosebud: Use Rose Stitch with a French Knot centre
Spiky Flower: Use Satin Stitch for the centre, with Backstitch petals ending in a French knot.
Daisy: Use Lazy Daisy Stitch for the petals, add a seed bead or French Knot for the centre.
Leaves: Use small Lazy Daisy stitch.
Stems: Use Backstitch for the Rose and Daisies, and Stem Stitch for the Spiky flowers.
 
Once you've finished stitching it, it should look something like this! From here on it's easy, all you need to do is trim down the cross stitch to the required size. (I left 5 squares either side and 7 squares above and below) and simple glue it onto the card, using either a clear drying adhesive such as PVA or double sided sticky tape. Just make sure you have glued down all the edges to prevent fraying.
As an alternative, you may wish to fray the edges, in which case leave an extra couple of squares all the way round after trimming the cross stitch down, and gently and carefully pull away the threads for those extra 2 squares. You can embellish the card or finish it in any way you want. Write your own personal message inside the card, and hey presto, you've made a simple embroidery mothers day card! She will love it as you have taken the time and effort to make it!

Wednesday, 5 September 2012

Hardanger Finish!

A while ago I decided to try my skills at hardanger, an embroidery technique that involves leaving cut out squares. In my previous post Stitches past, I mentioned that I was busy working on Purple Delight, a kit which my sister gave me for Christmas last year. Having spend a lot of time designing and making jewellery and accessories for my Etsy Shop, I haven't had much time to fit in my own personal projects, but I am very pleased to announce the completion of one of them! What do you think?


It was nice learning new stitches as my experience is mostly with cross stitch and back stitch, but this piece encompassed embroidery techniques, such as the tulip, along with new stitches such as the Algerian eye and spider stitch. I really enjoyed working on this, and I love how the bead detail adds a touch of shine.


It was, however, fairly fiddly to cut out the even weave threads having completed the panel stitching around it. it would probably have been easier if I'd bought special hardanger scissors, rather than struggling and persevering with my embroidery scissors, but I am pleased with the effect overall.


The fabric I used was 22 count (stitches per inch) even weave, and this was the first time I stitched onto anything that wasn't Aida. As the cross stitches are over 2 threads it equates to an 11count Aida(the smallest I've worked on to date is 18count Aida). It has given me a strong desire to try a cross stitch piece on an even smaller count, and I'm currently considering whether to buy another kit or convert a photograph/picture to make my own chart.

The threads were also DMC Perle threads, rather than embroidery floss. They were thicker and spun in a way more similar to wool, although they were as smooth as embroidery floss. I really enjoyed working with new materials, stitches, and techniques. It has defiantly inspired me try out more new things!

Happy Stitching

You might also like
3D Cross Stitch
Friday Finds: Sunflowers
Stumpwork Fancies
Project Tutorial: Embroidered Mothers Day Card
Apologies and Monochrome Projects


Monday, 30 April 2012

Tardis Keyring Kit Complete!

Hello!

I must say, I am VERY pleased that today so far is a break from the incessant rain we have had here in Sheffield for the past week, I hope it continues!

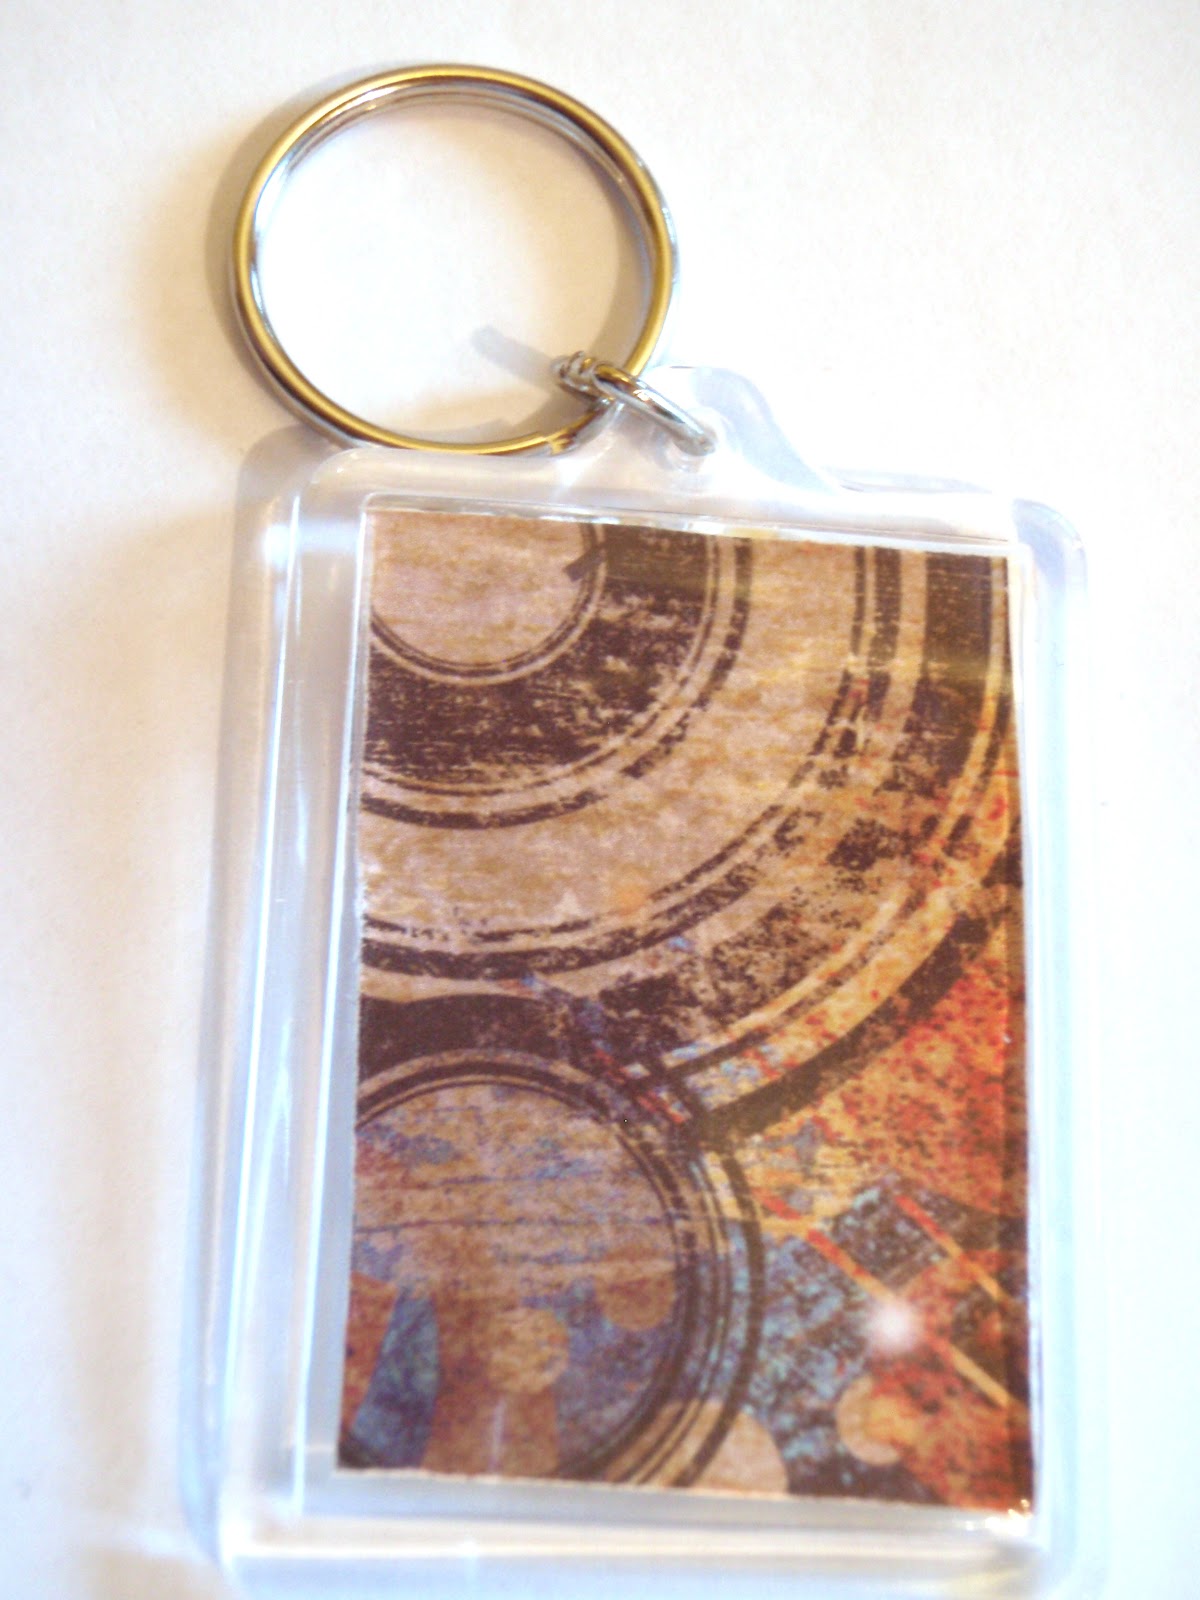
To celebrate, I am launching my tardis cross stitch keyring kit! In my previous post I talked about designing it, now I have completed one and the full kit (including full colour chart and instructions) is available for only £4.50 on my website.


What do you think of my effort? The photo isn't the best unfortunately, as the keyring reflects the light, but I think it's fairly true to the tardis, and hopefully you can make out the 'POLICE BOX' lettering also. It's now available on my Etsy Shop.

It's stitched onto 14 count Aida (for you non-stitchers that means 14 cross stitches per inch) using DMC embroidery threads. I then glued some backing paper to the reverse of the cross stitch using PVA glue so that the back of the keyring looks pretty too! I managed to find this in my stash, which I thought was very apt for this Dr. Who inspired keyring.

I hope you like it!

In other news, My work colleague Heather has given me Herman, a German friendship  sour dough cake which you grow and add ingredients too, before splitting 4 ways, giving 3 to friends to grow on and baking the Fourth quarter for yourself! I'll take some photo's and let you know how he's growing later in the week!

I'm also busy stitch, stitch, stitching away as I have just received a bulk order, so no new items for a while. Luckily however, I made a few just before the bulk order was confirmed, so Photo's will be coming soon on my facebook page!

Anyway, I'd best get busy...

Wednesday, 18 April 2012

Happy Birthday Chart!

It was my dad's birthday a few weeks ago, so I decided to have a go at designing and making a cross stitch card for him. The biggest thing I've designed previously were name bookmarks, I've mostly only designed small motifs for my cross stitch jewellery.

The first step was deciding what to design. I definitely wanted the words happy Birthday on the card, so I started there. Easy!

My dad loves gardening, he's always grown vegetables and flowers, and gardening is his job so it was the obvious choice of subject! My first idea was to do some garden tools, but unfortunately putting the picture in my head down onto a cross stitch chart is a lot harder than it seems, and I underestimated the space needed. Also, designing a spade complete with mud and space for other tools is harder than it seemed, and would look a bit boring. Time to come up with another design...

After a little pondering, I decided to do a flowerpot. It may not be the most manly of designs, but it is most definitely appropriate for my dad, so after a little bit of designing with the help of my Royal School Of Needlework software and my DMC thread colour chart, I came up with a basic design. I did a little tinkering, such as adding the butterfly and changing the flower colours from red and pink to blue and purple, before coming with the finished chart design. What do you think?!


I stitched the chart using cross stitch, back stitch and lazy daisy stitch for the petals and leaves. I used seed bead detail for the flower centres, and butterfly body. After a bit of fraying to give it a pretty edge, I glued the cross stitch to a green card using clear drying craft glue, and voila! The card was finished.


My dad liked it, so It was definitely a success! What do you think?

You might also like
Scotland Cross Stitch
3D Cross Stitch Garden
Free Cross Stitch Chart: Dad Bookmark
Friday Finds: Rugby
Work in Progress: Peak District Photo Conversion


Saturday, 31 March 2012

Stitches Past!

Hello!

A brand new Nikon Coolpix s6200 arrived in the post for me yesterday, which means I have a big task ahead to re-photograph my products - and catch up with the ones I've missed, so I can update them on my website to better quality ones.

Eager to try out my new camera I have taken photo's of a couple of (relatively) recent cross stitch pictures that are on display in my house! (I have completed others, but they are all sitting in a draw awaiting framing...one day...)

Anyway, what do you think of my Siberian Snow Lynx?


He hangs in my kitchen, guarding the door...! I started making him when I was a teenager, but left him uncompleted for ages during uni - to tell the truth, I was a little embarrassed at first of my cross stitch hobby. Looking back I was just being daft, but hey, we all are when we're young! Eventually he made his way up to Sheffield, and I occasionally did a little to him, but it wasn't until I moved in with my boyfriend, Chris, that I finally got working on him again properly, and it wasn't long before he was finished!

Before I finished I was already searching for a new kit to buy, but I wanted one that both Chris and I would like, so I gave him a shortlist of ones to choose, and this was the result!


This Winter Sunset kit by DMC now proudly hangs pride of place above the fireplace in my living room. What do you think of it? It took me about a year to stitch it. Sadly I haven't completed a large piece since, as I've been busy focusing on my cross stitch jewellery, but hopefully that will change soon.

I am currently working on this Purple Delight hardanger that my sister gave me for Christmas. I'm not too far off, but it has been sadly neglected recently. I am enjoying learning the new techniques and new stitches though!


I also have a stumpwork kit, which is also a bit neglected, purchased from WYE Needlecraft in Bakewell, (I can't resist going in whenever I'm in Bakewell, they sell all sorts of needlepoint work, and have plenty of completed works adorning the walls). I have done very little embroidery work, so I'm finding it a bit more challenging and fairly time consuming, as I've only done one petal, but I'm looking forward to getting it finished! Hopefully when it's finished it'll look something like this!

Anyway, I'd best get back to photography and stitching!